

In the good old days, Medicare agents were able to enter their clients’ drugs into the Medicare.gov Plan Finder, and they’d be saved for later reference with a Drug List ID. That’s all changed now, but all is not lost!
There is still a way to get the drug list using MedicareCENTER and Medicare's Blue Button feature.
How to Access Client Drug Lists
In 2019, CMS revamped the Medicare.gov website. At this time, they got rid of the Drug List ID feature and released MyMedicare.gov, which lets consumers create an account. Their MyMedicare.gov account shows them any prescriptions that have been filled in the past 12 months, effectively creating their drug list for them.
How do you, as an agent, get access to their drug list in order to help them choose a drug plan?
Well, they could share their MyMedicare.gov login info with you, but that’s frowned upon. You could manually enter each prescription as they dictate the list to you, but that’s really time consuming, especially when you have hundreds of clients and may not even be getting paid for this service.
The next best solution here is to use MedicareCENTER to automatically import their drug list right from their MyMedicare.gov account.
It's a series of six simple steps:
- Step 1: Get Started With MedicareCENTER.
- Step 2: Go to MedicareAPP.
- Step 3: Search for or Create a New Client Profile.
- Step 4: Visit Your Client's Prescriptions Page.
- Step 5: Request Access to Your Client's MyMedicare.gov Account.
- Step 6: View Your Client's Prescriptions!
Let's walk through them together. You can also watch this tutorial video to see everything in action.
Step 1: Get Started With MedicareCENTER.
First things first - you need an account with MedicareCENTER. Go to medicarecenter.com and click "Register Now."
New to MedicareCENTER? Learn how to use it to sell MA and PDP plans.

Then, fill out the fields to create your account. As long as you’re contracted with an Integrity partner, this is free!

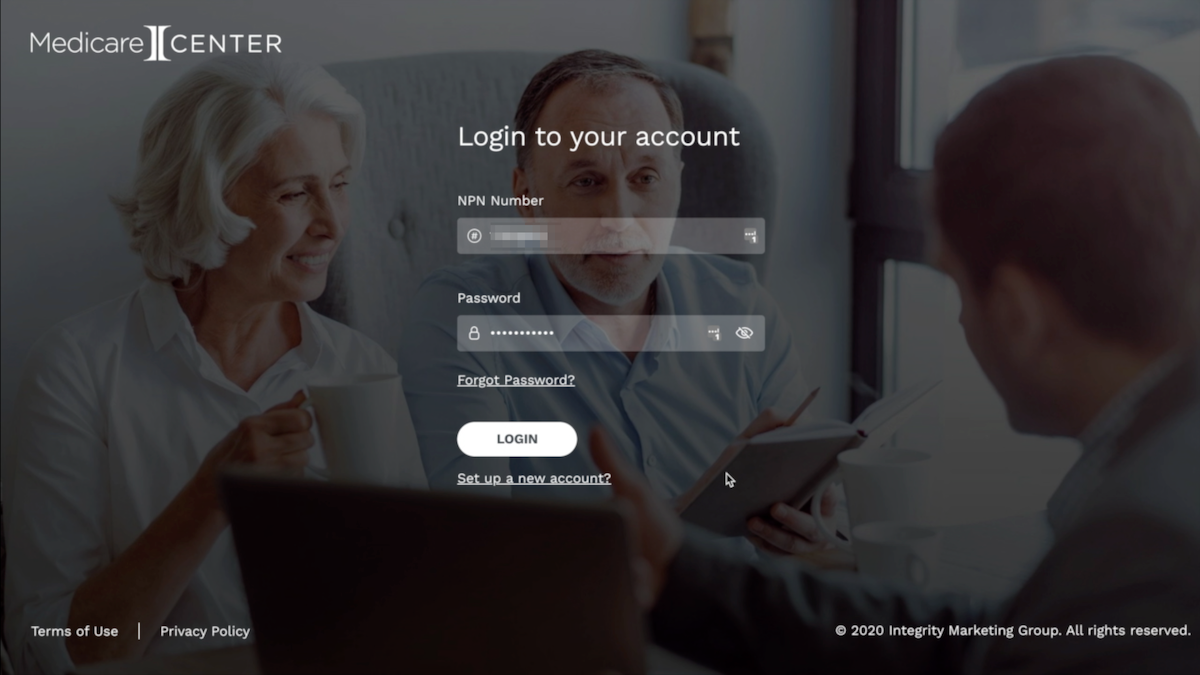
We’re going to login with our NPN Number and password.
Step 2: Go to MedicareAPP.
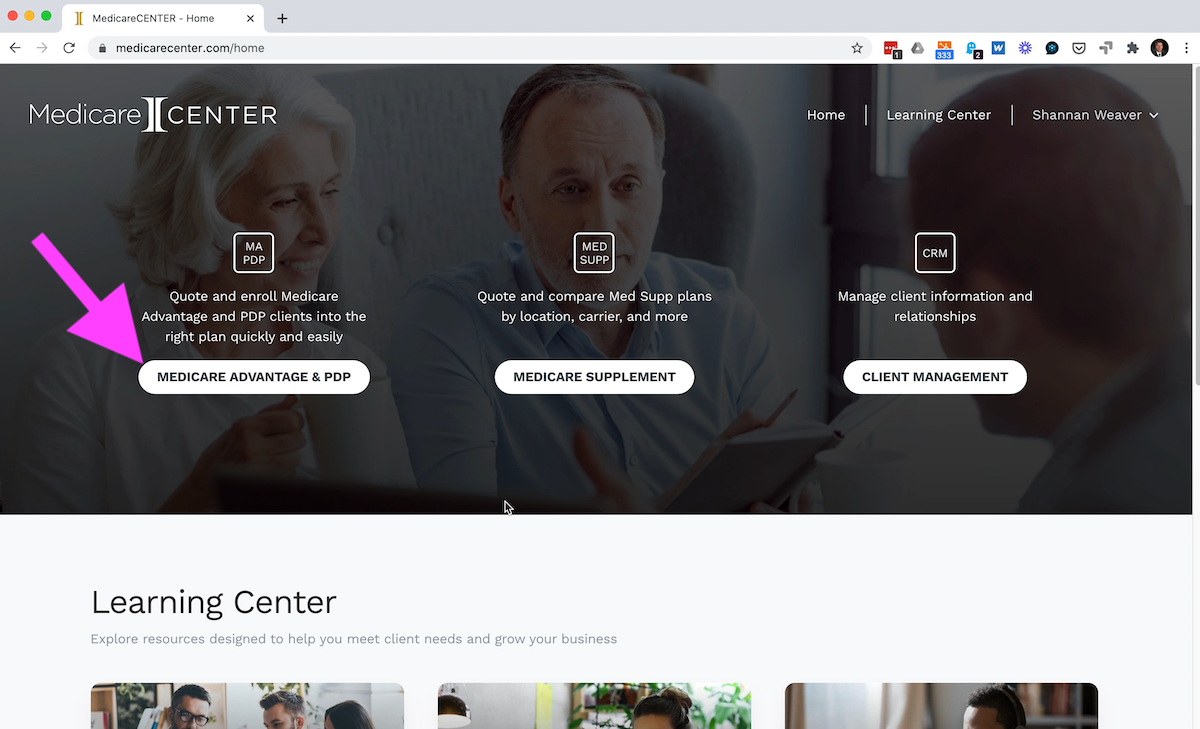
Once you're logged in, click the button that says “Medicare Advantage and PDP.”
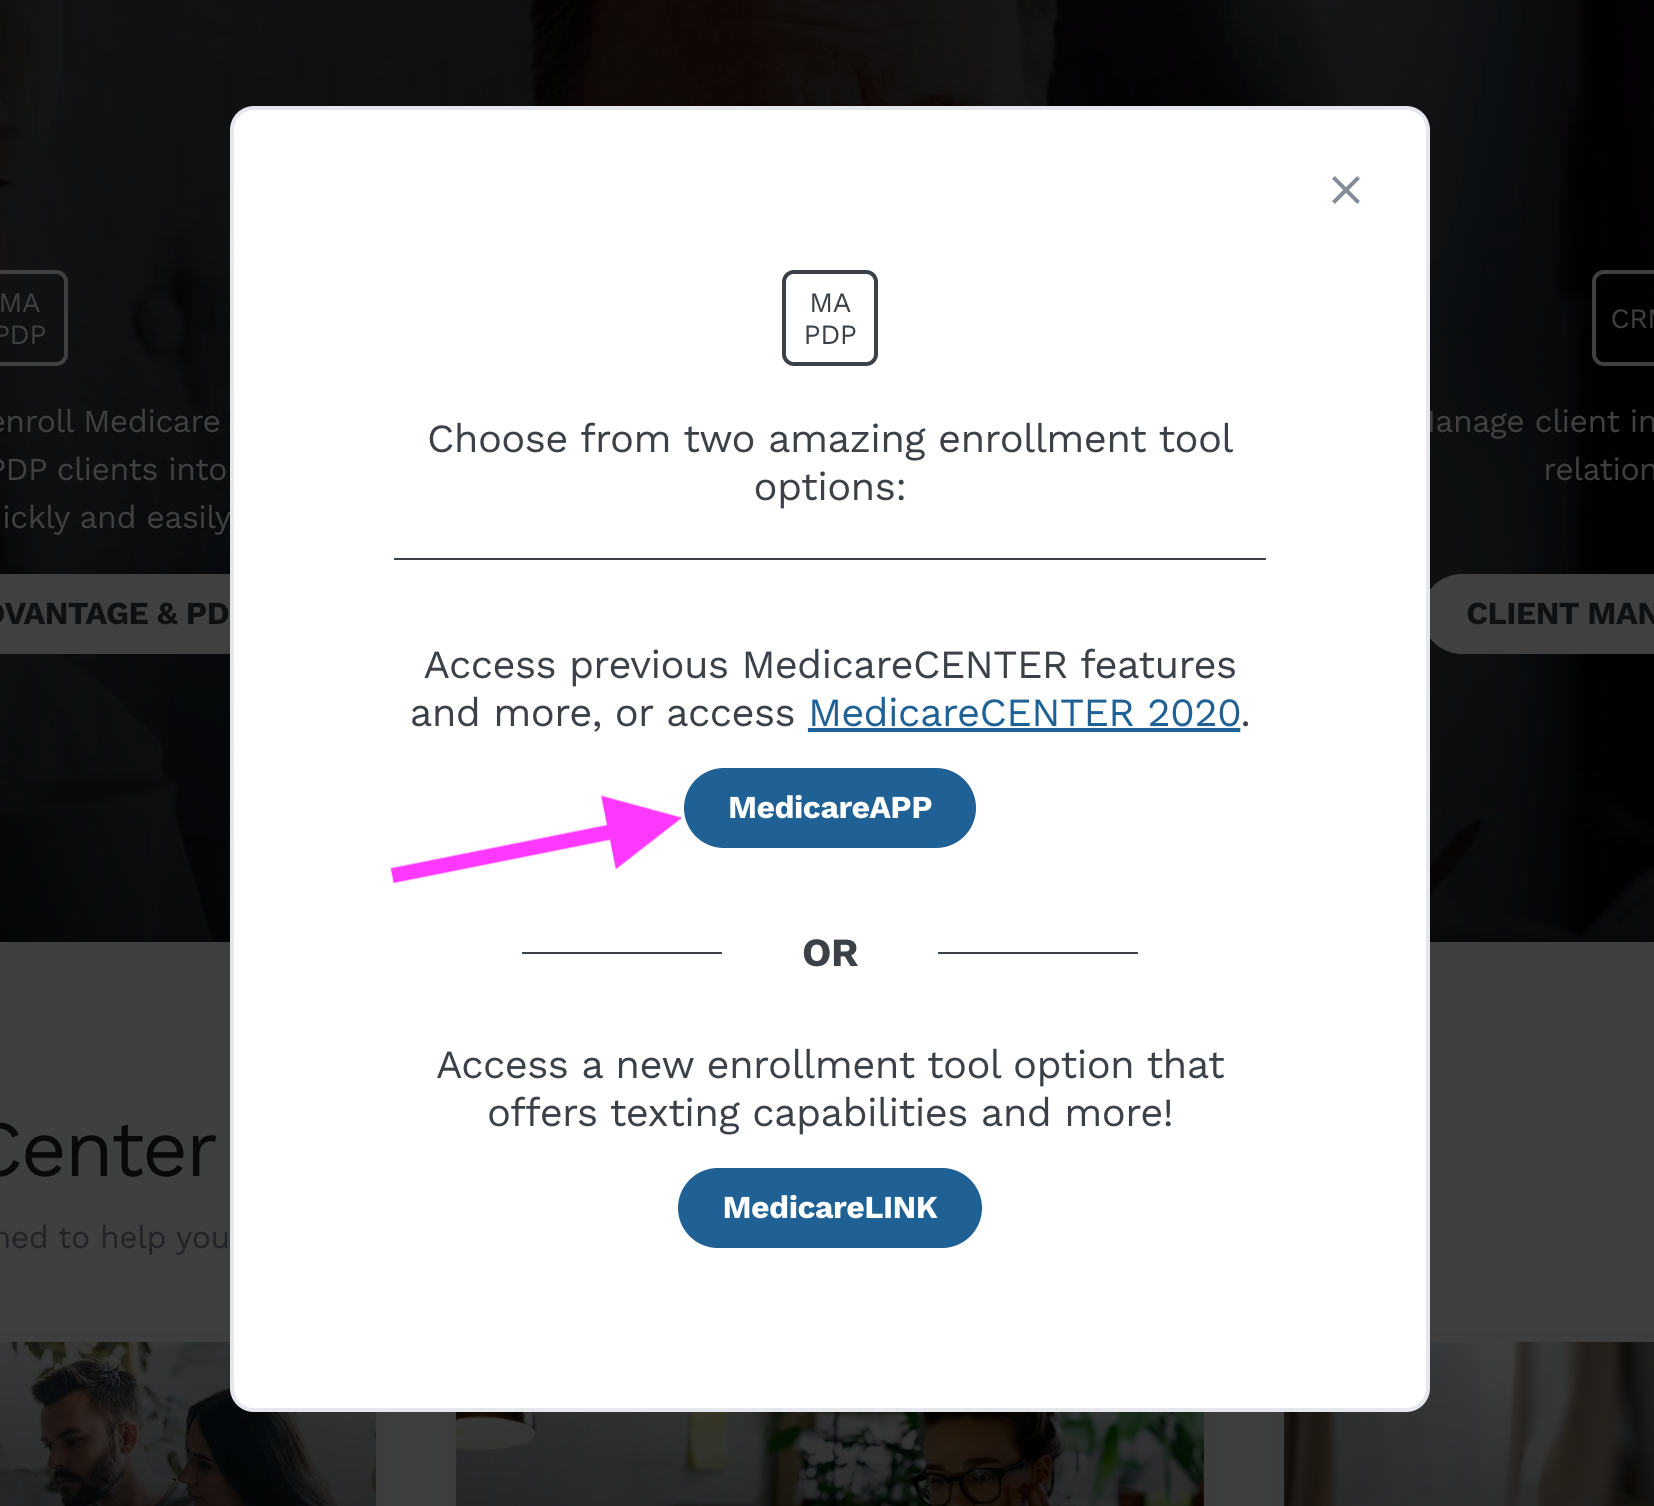
Now, we’re going to choose MedicareAPP.
Step 3: Search for or Create a New Client Profile.
Now, we have the option to search for our client. If you think your client is in your database already, you could enter their last name and click "Search profiles."
I know my client is not, so I’m going to choose “New Profile” at the top.

Now, we add our client’s info. All we need to get started are the required fields – ZIP code, First name, and Last name. Feel free to add whatever information you know.
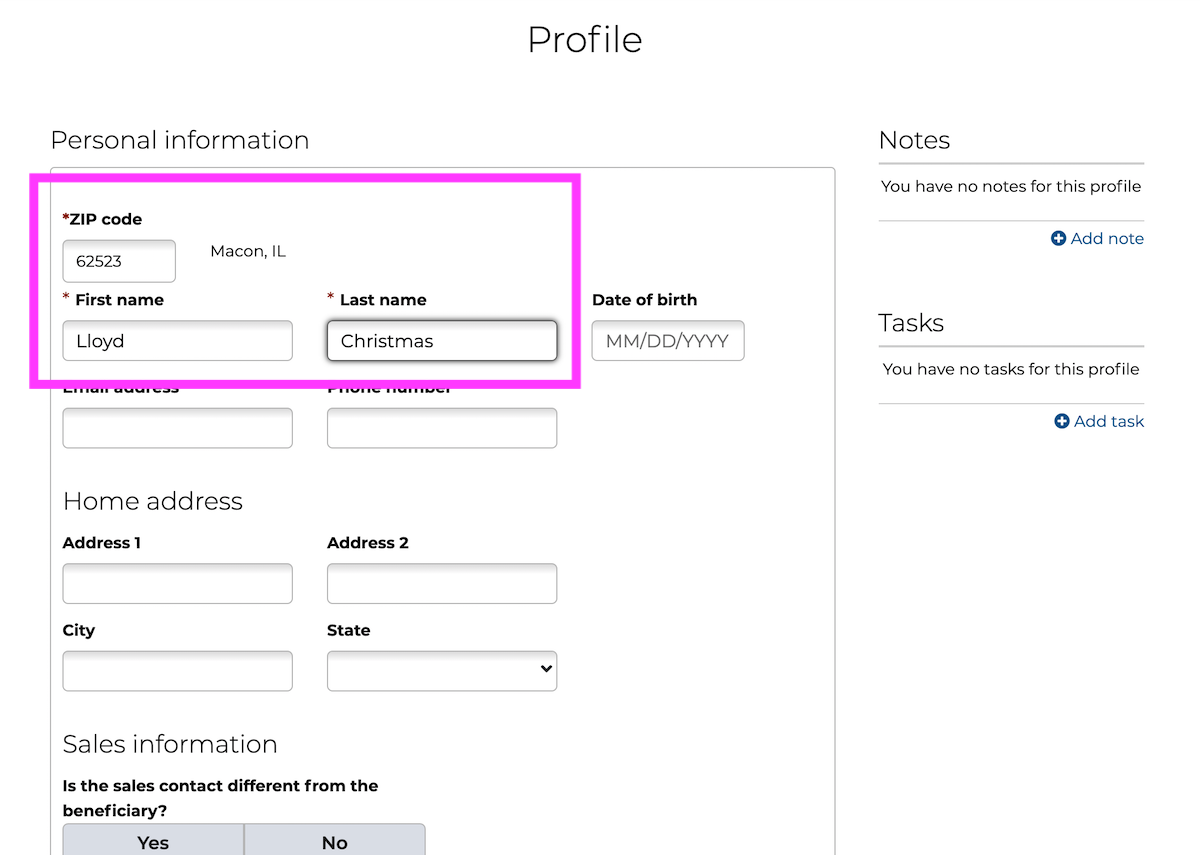
Then, press the Save button.

Step 4: Visit Your Client's Prescriptions Page.
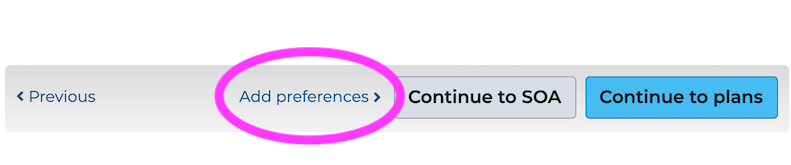
Now we’re going to click “Add Preferences” at the bottom.
On the next page, you can go step-by-step down the list, but for this tutorial, I’m going to jump right to Prescriptions.
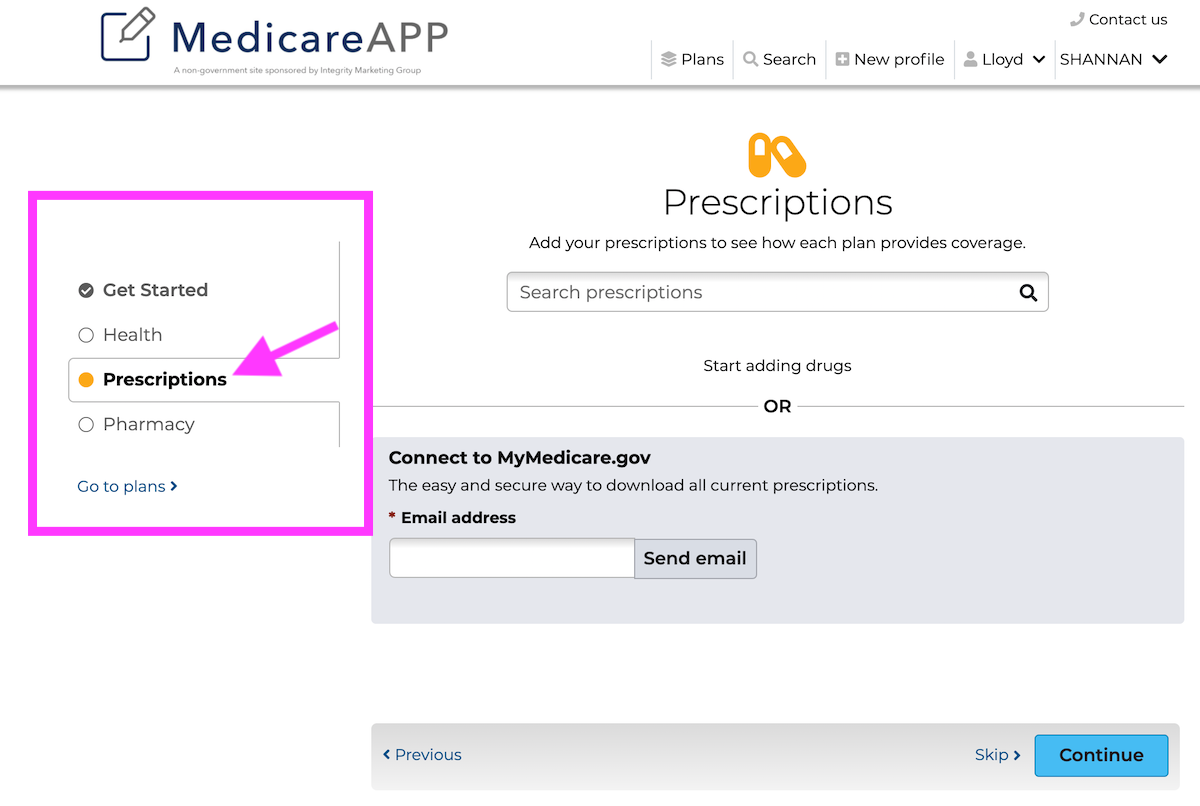
Step 5: Request Access to Your Client's MyMedicare.gov Account.
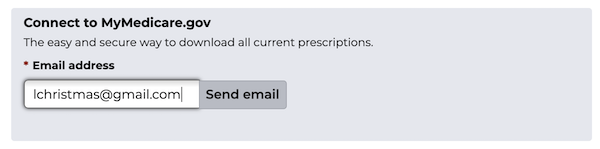
Here’s where you can either enter drugs manually, or you can request access to your client’s MyMedicare.gov account. If you entered their email address earlier, it will be here; otherwise, type it in now.
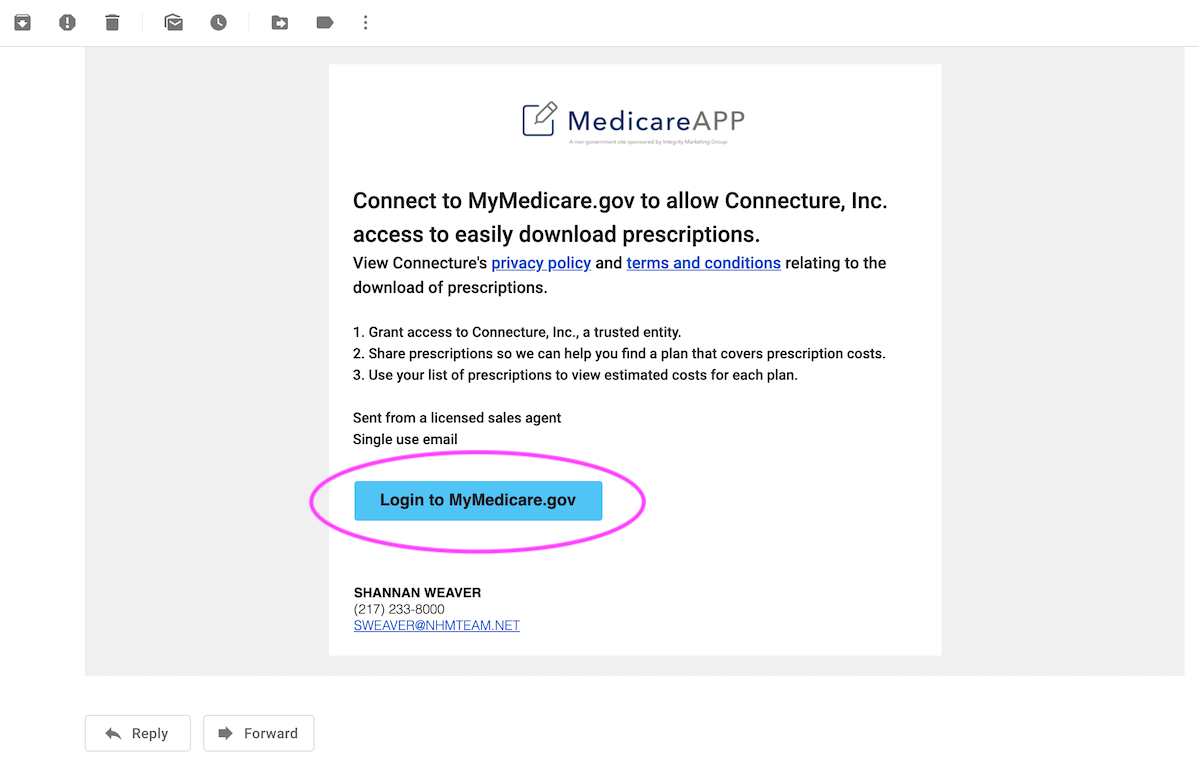
 As soon as you press Send, your client is going to get an email that looks like this:

What if your client hasn’t set up an account on MyMedicare.gov? No worries – once they click the "Login to MyMedicare.gov" button, they will have the option to either log in or create an account.
And here’s the big caveat: some of your clients – or even you for that matter – are not going to be comfortable enough with the technology to do this. For you, it’s just going to take a little determination and some practice. It’s going to help if you know what your client is seeing, so let’s take a look at their view.
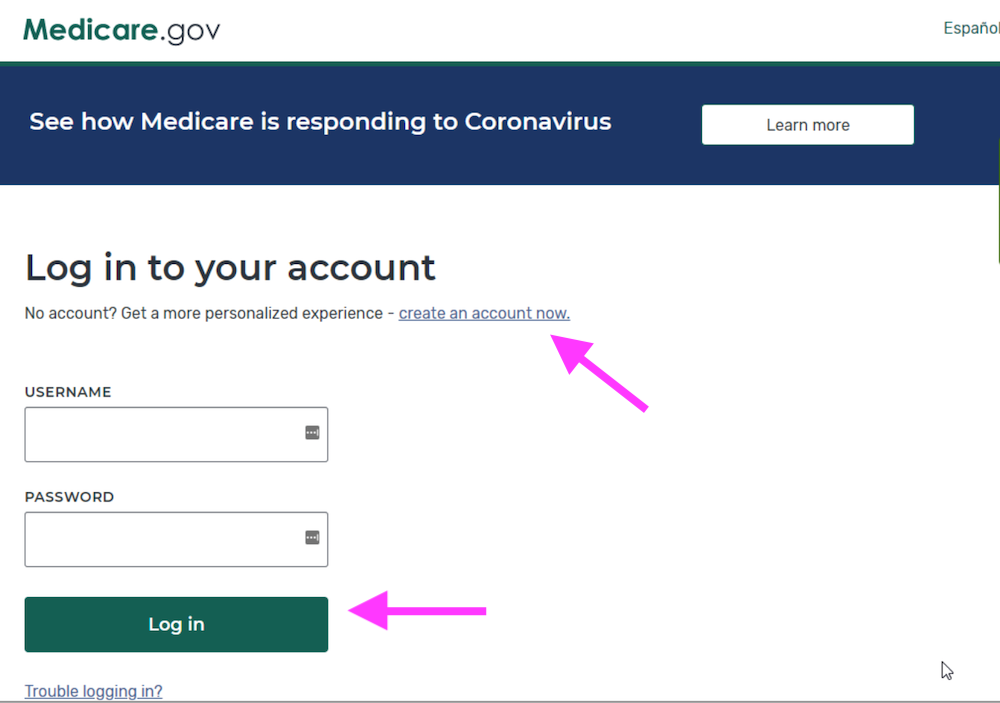
So, your client checks their email, and they have received this email. From here, they click the “Login to MyMedicare.gov” button.
From here, they need to log in if they have an account. If not, they can create an account by clicking the link just above the login section. This is what they'll see:
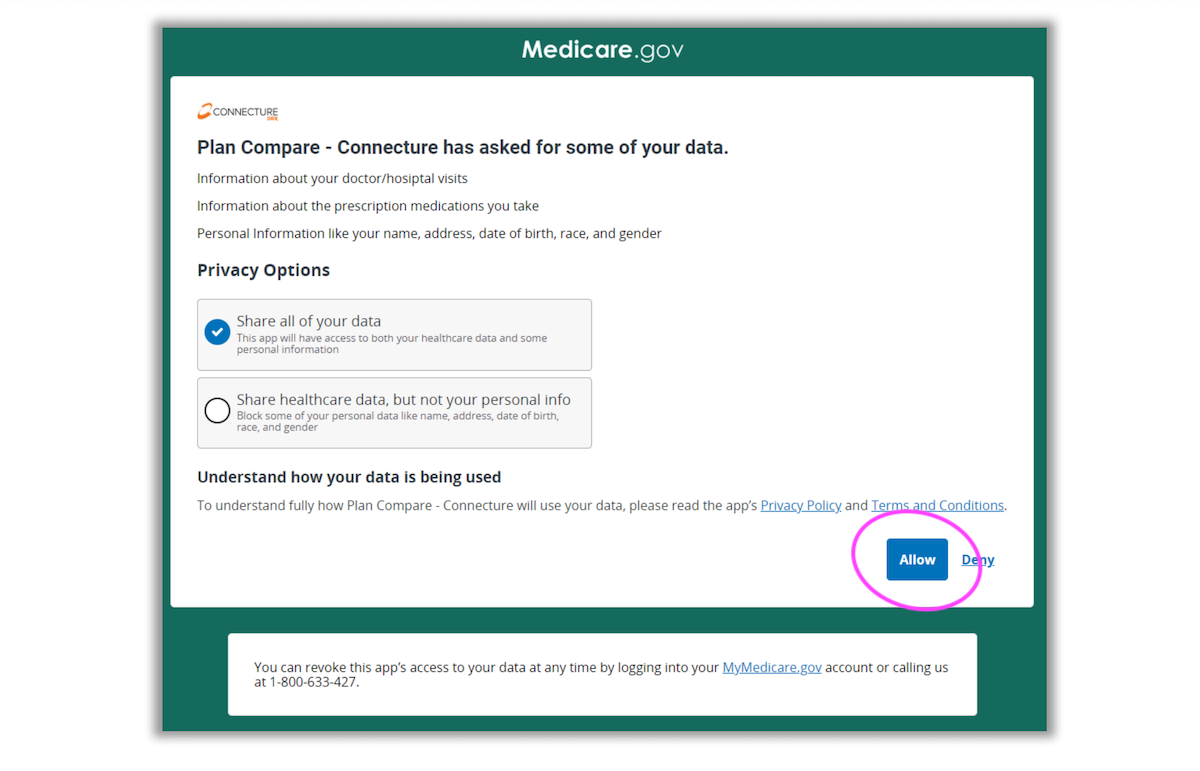
After they’re done, your client needs to allow access by clicking the “Allow” button.
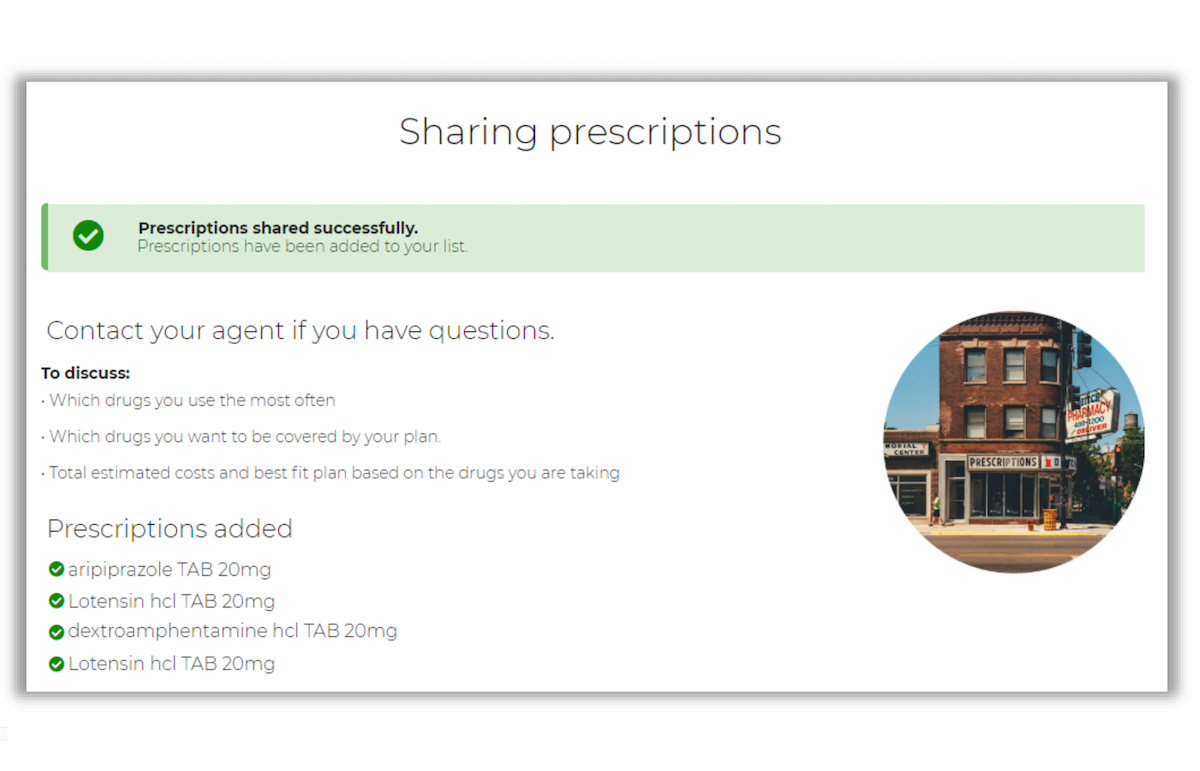
After that, they see a confirmation page with the prescriptions added.
Step 6: View Your Client's Prescriptions!
Now, let's go back to your view. After they share their prescriptions data successfully, you will receive an email to notify you. That email looks like this:
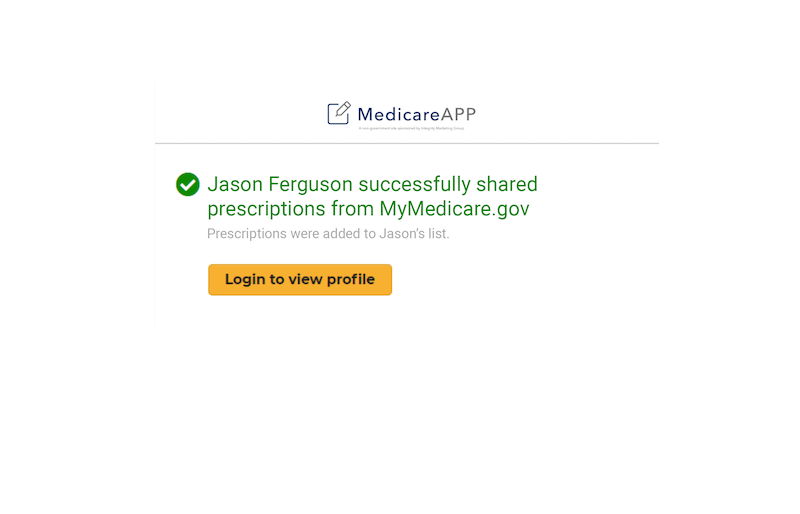
You may now login and view their prescription page to see all of the added prescriptions.
Now that the client's MyMedicare.gov account is connected to MedicareCENTER, you import their latest prescriptions by clicking the "Import latest prescriptions" button on Prescriptions page. You can do this at any time.

You're done! Now, you can continue on with adding their pharmacy preferences, running plan comparisons, and getting them enrolled in a Part D drug plan.
Conclusion
Obviously, you’ll have to use your better judgement to determine if this scenario is realistic for a given client. For some, it’s going to be a challenge. Some clients don't even have an email address, so proceed accordingly.
I hope it helps you help your clients, and if you find our tutorial videos helpful, please consider subscribing to our YouTube channel so you can automatically get notified when new videos are released.
Thanks again, and good selling!


Comments